Invisalign Pain Relief Hacks: Your Ultimate Guide to a More Comfortable Smile Journey
Did you also know that almost 90% of the Invisalign users complain of considerable discomfort, particularly on the first 3 days when they have a new set of aligners? When you are looking at Invisalign pain relief hacks, we are not the only people who feel that initial tightness and pressure. When your teeth move in their good pain, it is a good sign that your treatment is taking effect; however, that need not be a cause of fear.
This ultimate guide, based on orthodontic knowledge and experience of actual patients, does not just provide temporary solutions. We will give you a strategic playbook to deal with discomfort during your whole treatment. Not only will you learn how to relieve Invisalign pain, but also how to prevent it so that a process that would otherwise be uncomfortable, becomes a hassle-free and predictable process towards achieving your dream smile.
Why Does Invisalign Hurt? Understanding the “Good Pain”
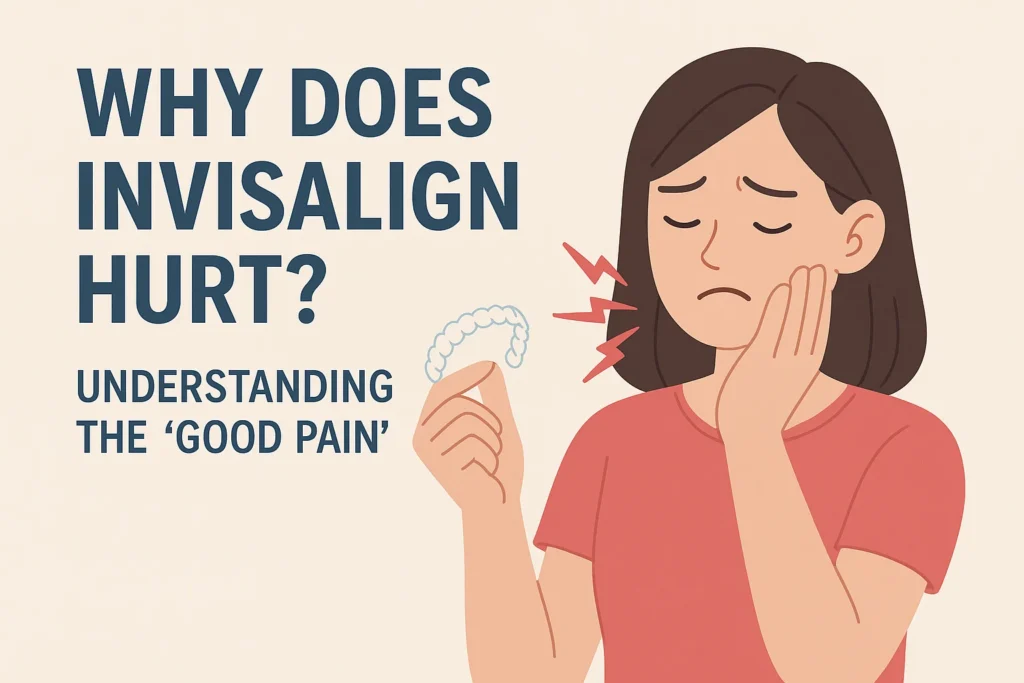
We should first be aware of the cause of the pain before we get into the hacks of Invisalign pain relief. It is not just some pain, but a certain biological process.
Invisaligners are effective because they exert constant and controlled force on your teeth. It is this pressure that produces a biological reaction in the periodontal ligament (the tissue which cushions the tooth in its socket) and surrounding bone. Bone is resorbed (broken) on the side where pressure is exerted and new bone deposited by the opposite side. This is called bone remodeling which is what makes your teeth move.


Expert Insight: “The discomfort you feel is primarily inflammation in the periodontal ligament,” explains Dr. Angela Roberts, an orthodontist with over a decade of Invisalign experience. “It’s a sign that the cellular processes for tooth movement have been activated. It should be a dull ache or pressure, not a sharp, stabbing pain. Understanding this distinction is the first step in managing it effectively.”
Peak Pain Periods to Anticipate:
- The First 24-72 Hours with a New Tray: This is when the force is greatest, and discomfort peaks.
- The First Few Days of Treatment: Your teeth and oral tissues are adapting to a foreign object.
- During Specific Complex Movements: Certain rotations or extrusions can feel more intense.
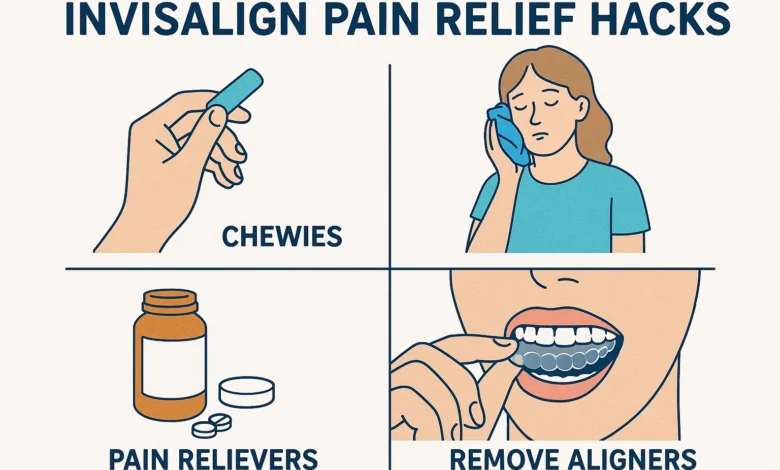
The Ultimate List of Invisalign Pain Relief Hacks
Now, let’s get to the practical strategies. These Invisalign tips and tricks are categorized to help you tackle discomfort from every angle.
Hack Category 1: Mastering the Tray Change
This is where most discomfort originates. A strategic approach can make all the difference.
1. The “Switch at Night” Protocol:
It is always important to switch to your new set of aligners just before going to sleep. You are lying down, and you will sleep the first 6-8 hours of maximum misery. This is the only best timing hack.
2. Eat Your Chewies Religiously:
The use of such silicone cylindrical cushions is not only to put your trays. This is helped by actively chewing them out 10-15 minutes after the insertion of a new tray:
- Pre-position the aligners to evenly spread the force and even may help to relieve certain spot-related pain.
- Promote the circulation of the blood to the gums, and it can calm inflammation.
3. The “Over-the-Counter” Pre-Game:
Approximately 30-60 minutes prior to you having to switch your trays, have an analgesic pain reliever such as ibuprofen (Advil). It is not a long term daily crutch, but may be very useful in trying to deal with the early phase of inflammation following a tray change.
Veneers Insurance Coverage Options: What’s Covered and What’s Not
Hack Category 2: Soothing On-the-Spot Discomfort
When pain strikes during the day, you need fast-acting solutions.
4. Cold Therapy for Sore Teeth and Gums:
Just like you’d ice a sprained ankle, you can “ice” your sore mouth.
- Sip on ice-cold water.
- Suck on ice chips (but don’t chew them!).
- Hold a cold pack to the outside of your cheek for 15-minute intervals.
The cold constricts blood vessels, reducing inflammation and providing a numbing sensation.
5. Salt Water Rinses:
This is a classic for a reason. Add 1/2 teaspoon of salt to a glass of warm water, and swish 30 s. It aids in the calming of swollen gums, in healing small cuts in the aligner edges, and also gives a natural anti-inflammatory action.
6. Your Best Friend is Orthodontic Wax:
In case the pain is localized into one particular area, where the aligner edge is rubbing against your cheek, tongue, or gums, then orthodontic wax is a savior. Wipe the location, roll a lump of wax into a ball and rubbed it squarely on the annoying edge of the aligner. It forms an easy coating immediately.
Hack Category 3: Dietary and Lifestyle Adjustments
What you eat and drink plays a significant role in how to make Invisalign hurt less.
7. The Soft Food Diet for Tray-Change Days:
For the first 2-3 days with a new tray, plan your meals around foods that require minimal chewing.
- Great options: Yogurt, smoothies, soup, mashed potatoes, scrambled eggs, oatmeal, pasta, and protein shakes.
- Avoid: Hard, crunchy, or chewy foods like nuts, chips, bagels, and tough meats.
8. Stay Hydrated:
Properly hydrated body is able to handle inflammation. Consumption of a lot of water also aids in keeping the saliva flowing and this may stop the dry mouth condition and additional irritation by the trays.
9. Pure Facts: Invisalign Hacks:
It is the golden rule to drink nothing but water with your trays in. But in case you need to have a cold, non-sugary (such as unsweetened iced tea) clear drink, use a straw that is placed near the back of your mouth, so that the aligners have minimal contact. Take them out always when hot, colored or sweet.
Proactive Comfort: Invisalign Tips and Tricks for Prevention
The best Invisalign pain relief hack is to prevent the pain from becoming severe in the first place.
10. File, Don’t Suffer:
When an aligner edge is always sharp, then tolerate it. File the rough end with a fine grained nail file or an emery board. Make short strokes in a direction away form your body and it is always advisable to wipe away the filing dust.
11. Master Your Slipping and Taping Move:
To push trays in or out may be very painful. Always apply your fingertips on the aligners to apply them to your teeth, beginning with the front ones and going backwards. Removal To unpop the aligner, use your fingernail to just pop the aligner off the inner section of your back teeth on each side- never on the front.
12. Keep Your Trays Clean:
The accumulation of plaque and bacteria may irritate the lining of your gums, which aggravates the pain of tooth movement. Wash your aligners with a soft toothbrush and clear and antibacterial soap or the official Invisalign cleaning crystals every day.
What NOT to Do: Common Mistakes That Increase Pain
Just as important as the hacks are the pitfalls to avoid.
- Don’t Use Acetone or Harsh Cleaners: This will craze the plastic leaving rough surfaces that will irritate your mouth and will weaken the aligners.
- Never Clean Your Trays in Hot Water: heat can bend the plastic, changing the force applied by it and making it hurt more and become more difficult to track.
- Don’t Jump Ahead: You should never use future set of aligners thinking it will accelerate treatment. This may result in severe pain and damage of roots.
- Never Keep Your Trays Long: Once you replace them after a long rest the catch-up action may be excruciating.
When is Pain a Red Flag? Knowing When to Call Your Orthodontist
While some discomfort is normal, certain types of pain are not. Contact your orthodontist immediately if you experience:
- Sharp, Localized, Stabbing Pain: This could indicate a cracked tooth or an issue with the root.
- Pain from a Sharp Attachment: If a tooth attachment (button) feels jagged and is cutting your cheek.
- Severe Soft Tissue Damage: If the aligner is causing significant cuts or ulcers that don’t heal with wax.
- A Loose Tooth in an Adult: Some mobility is normal, but excessive movement is not.
Frequently Asked Questions (FAQ)
1. How long does the pain last with each new Invisalign tray?
In the vast majority of cases, the major discomfort persists 1-3 days. The initial 24 hours are generally the most difficult. By the 4th or 5th day, you should experience minimal or no discomfort until the time of your next tray change.
2. Can they accelerate the process of Invisalign to be over with the agony?
This is a dangerous mindset. Some orthodontists might not object to faster regimens such as Propel or VPro appliances, but do not make it a habit of accelerating your treatment by wearing fewer trays. This may destroy your tooth roots and cause the failure of treatment. Always keep to the schedule of your orthodontist.
3. So what should I do when my Invisalign cracks?
The severity of the Invisalign is a factor to determine how to repair broken Invisalign. A small crack in your hairline may do until your next change. The force on your teeth may change with a considerable split. Get rid of the smashed tray and call your orthodontist and ask him to tell you what to do. Do not try to glue it yourself.
4. I’m on a tight budget. Are there any natural pain relieving methods, which are cheap or free?
Absolutely. Some of the most effective hacks of Invisalign pain relief are also usually free or extremely low-cost: the salt water rinse, the switch at night rule, cold water, and soft food diet. As well, orthodontic wax is a highly inexpensive, yet, high-impact investment.
5. The pain does not indicate that it is working?
Generally, yes. The dull ache and the pressure are an indication of the fact that the aligners are exerting the required force to push your teeth. There should be no pain whatsoever, that could mean the trays are not fitting or you are not wearing them sufficiently. Nevertheless, not all pain is normal and should be assessed in case of severe or sharp pain.
Conclusion: You Have the Power to Control Your Comfort
A trip towards a straight smile with Invisalign does not necessarily have to be a painful experience. Knowing the cause of the pain and applying these established Invisalign pain relief tricks, including timing and cold treatment, changes in diet and orthodontic wax, you have the power to make the process more comfortable.
It is important to keep in mind that this is a transitional stage in a process that has life-long consequences. A step of pain brings you one step nearer to the smiling face that you have always desired. Remain steady, take the initiative and do not be afraid to lean on your orthodontist. You’ve got this.
Next step: By the time you decide to change your tray, you are prepared: you have orthodontic wax and soft foods, a reminder to change your trays at night, and your chewies to use. It is a world of difference with a bit of preparation.
Disclaimer: This is only informational and should not be taken as medical advice. The data presented is on general orthodontic principles and patient experience. Every case is unique. You need to discuss with your orthodontist who is treating you the advice specific to your treatment plan and to any pain that you are experiencing.